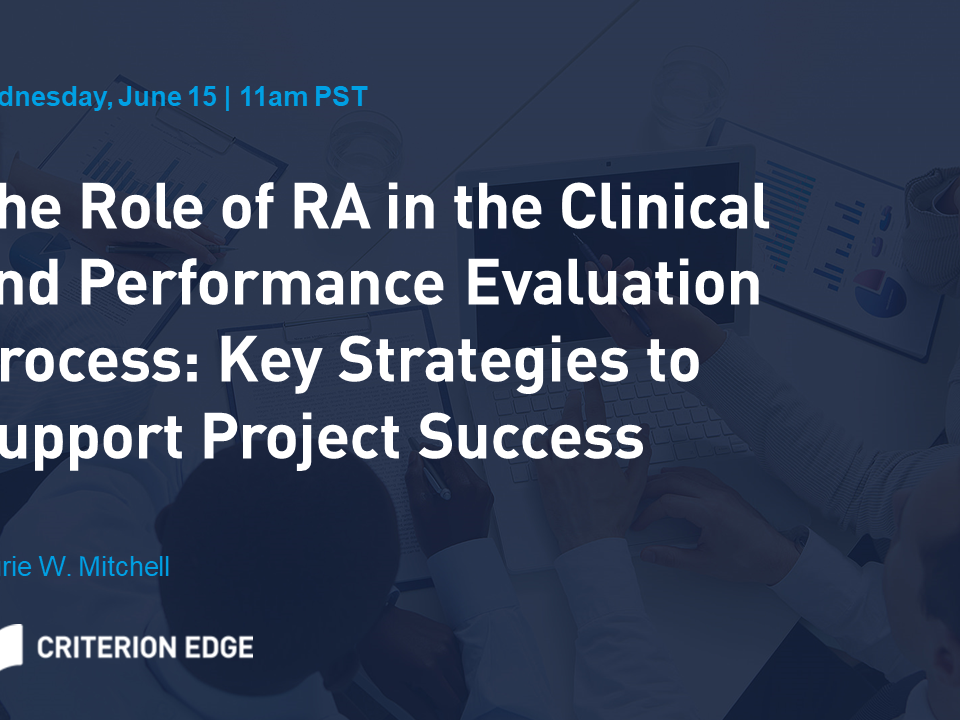
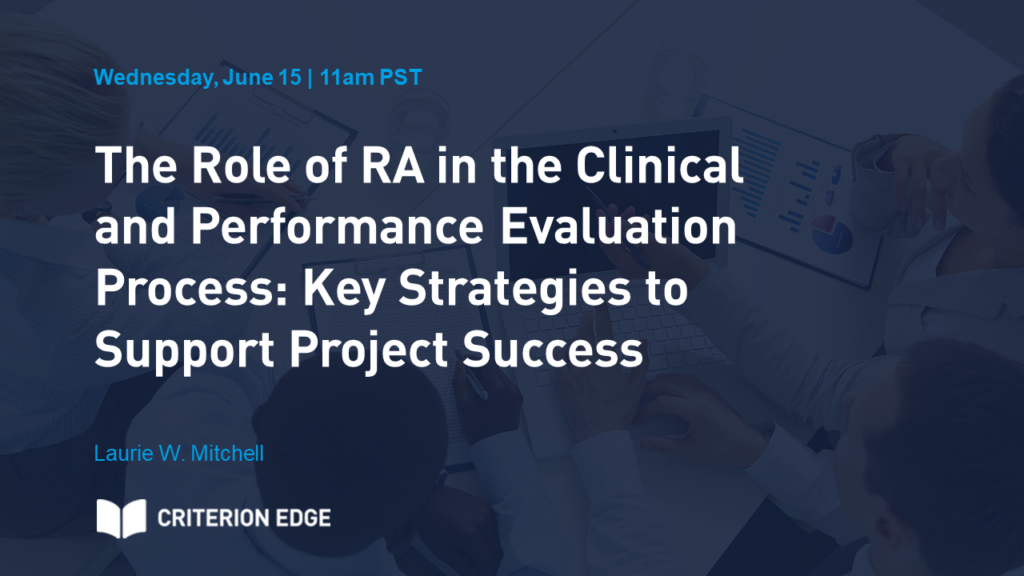
Most CER writers work collaboratively with other writers and researchers to complete CERs that often run hundreds of pages and contain roughly five times as many citations. This is where EndNote’s more advanced and collaborative features shine. Within EndNote, medical writers can share libraries and even view/share notations they make on the reference’s corresponding full-text PDF. EndNote also allows writers to group resources and filter out unwanted resources via its robust search functionality.
These 11 EndNote features are sure to increase your efficiency on your next CER project:
Having access to the full text PDF of every resource in your EndNote library is indispensable when working collaboratively. Writers and analysts working over a shared library (covered below) can discuss, highlight and mark-up certain sections of the article when deciding what and how to include the resource’s data points and findings.
EndNote automatically searches for and downloads available PDFs for all citations you import. Note: You can help it by adding your company’s open URL. Open EndNote Preferences > Find Full Text > and input the URL in the OpenURL field. If necessary, add a URL to the Authentication field.
If some resources in your library don’t have the full text PDF attached, you can manually locate those PDFs by selecting the reference or group of references in your list and going to: References > Find Full Text. If EndNote can’t find the PDF of your reference, you can find and download the PDF manually online. Then, in EndNote, select the reference from the list and attach the PDF by clicking the paper clip icon in the lower right window. Or go to: References > File Attachment > Attach File.
If you have a PDF but don’t have the reference for it in your list, you can import the PDF by going to: File > Import > then click Import Options and choose PDF File or Folder > Then select the item you want to import. Using this feature, you can also import an entire folder of PDFs by selecting the Folder and clicking Import. Or, you can designate a folder for EndNote to import from any time you add a file to that folder. Go to: EndNote > Preferences > select PDF Handling from the menu on the left, check the box to Enable automatic importing and select the designated folder. Note: Some older PDFs or scanned PDFs may not contain sufficient metadata.
To markup an imported PDF, click on the reference and open the PDF in its own window. You can then use most standard Acrobat tools to annotate or call out text or sections within the PDF. Note: EndNote can even search your notations.
While most CER writers use a research tool like Distiller SR to locate and screen data studies and resources, EndNote can also be used effectively as a screening tool by way of its Groups categorization and Duplicate Detection tools. In one case, a writer was able to narrow a search resulting in 500 entries (some of them junk) into a small batch of highly relevant resources by filtering out duplicates, outdated data, conference abstracts, non-relevant or excluded keywords, and study types, all in EndNote.
Categorizing existing references from your library into groups makes working with large reference libraries much easier. Particularly when working with CERs when a wide net of data gathering must initially be cast. Many medical writers use EndNote’s Groups feature as a search or screening tool by inputting specific keywords, study types, or journals into the search criteria, and even using specific keywords to exclude unwanted references. Internally, the Groups feature can be used to temporarily flag articles that need further review, need full text, or need additional notations. By assigning a 1- to 5-star star rating to these entries, you can later use the Groups feature to search for those entries by rating and process them accordingly. This is a great way to batch find and process reference groups that don’t necessarily share a common keyword, author or title.
Smart Groups is an automated feature that tells EndNote to automatically add references that meet a specified criteria to a group. Setting up specific Smart Groups in advance is well worth the time as it automates a manual search step. For example: you can tell EndNote to automatically add any new or existing resources that contain the keywords heart valve and the date of 2018 to a 2018 Heart Valve group. To use this feature, go to Groups > Create Smart Group and input the search criteria you desire. Subsequently, any matching reference you add to your library will automatically be added to that group.
Medical writers may also use the Group feature to create new groups from existing groups. Choose Groups > Create from Groups and then input your inclusion/exclusion criteria. For example, say you have created various groups for different types of heart stents and you want to combine some of those groups into a new group. You can select to include the types of stents you want and exclude those you don’t.
Note: The Smart Group feature can even be programmed to search the full text PDF attachment and even your notations within the PDF.
EndNote also has a robust tool for reconciling Duplicate entries. This is a recommended first and final step (when you first import your references into a new library and before you finalize your document) and can be done by going to the References menu > Find Duplicates. This will generate a list of duplicates. From there you can simply delete the outdated references, or click on them to review the data included within each reference, copy and paste desired data into the most recent reference, and only keep the most up-to-date entry.
Library sharing is one of the most attractive advanced features of EndNote and one CER writers use regularly. When multiple users are working on one CER, it is critical that they have viewing and notation access to all the references. The primary creator of the reference library can share the library with up to 100 users (version X8). Anytime any of the users makes a change to the library or notation within in a reference, EndNote keeps track and other users can view the list of changes.
To use this feature, all users must first set up an EndNote Online account. Then, the primary user can sync their library online (this takes a while) and then elect to share the library with a list of users (specified by email address). Recipients will be notified via email and can accept access and then have full privileges within the library. Because the library is constantly changing, the original owner of the library should make periodic backups of the current version via File > Compressed Library.
Similarly, if you are working on multiple devices you can sync your EndNote library across those devices. In order for any changes or updates to transfer to other devices, all devices must be online. Once you have synced your existing library online, open EndNote on the new device and go to: File > New. Here you must create a new library file of the exact same name as the library file on your current device. Then, simply sync that file. (Remember, initial syncing takes some time. Subsequent synced updates happen every 15 minutes and when you close EndNote…and are much quicker.) Now you can work from multiple devices and rest assured your changes will be updated.
When working with new clients, you may receive multiple documents with embedded citations, without receiving access to the related EndNote library. You can still access those references by exporting those citations into a Traveling Library. Go to the EndNote menu > choose Export to EndNote > Export Traveling Library. All the resources cited in the document will be added to your specified EndNote library.
In addition to its most basic features, EndNote can serve as a valuable, time saving tool for CER writers tasked with managing large databases of references. EndNote makes collaborating with multiple writers seamless and efficient, and its group and search capabilities make filtering through added references and managing existing ones much more organized. Note: EndNote is a dynamic and active tool, so don’t forget to unlink the final Word document from EndNote before you send it for review.
Using a reference manager like EndNote while writing a massive, reference-heavy document like a CER is certainly a game changer for medical writers. EndNote’s core features like Cite While You Write are indispensable when it comes to saving valuable time and keeping thousands of data references organized.
However, EndNote’s more advanced features, like PDF markups, reference library sharing and groups, are particularly valuable to CER writers who typically collaborate with multiple writers, researchers and analysts on one document, and also have to update older inherited CERs they didn’t originally write.
In this article, we’ll cover some of EndNote’s basic features. If you are already familiar with those, you can jump to our next blog on how to make the most of EndNote’s more advanced features when writing your next CER.
Cite While You Write is an EndNote plugin that allows you to add, manage and edit EndNote citations directly from Word while you are working in your document. It is simple to install and you are able to access all of EndNote’s features without leaving Word, which means you can search for, sort, and edit resources seamlessly as you are writing. Just make sure the EndNote library related to the project you are working on is open in EndNote.
EndNote has a database of more than 6,000 citation styles that are updated periodically. Most CERs use the AMA style, however, sometimes writers may be required to use a different style or even make a minor change to an existing style. Occasionally writers may receive a draft document from a client that was cited using a different style.
You can find new or updated styles on EndNote.com. Search for Output Styles and download the ones you want. Then go into your downloads folder, open the new styles in EndNote and save them. You can then access them in EndNote by going to Open Style Manager and searching for the new style.
Perhaps your reviewing body or client wants you to use the AMA style but with a slight variation in the way things are abbreviated. In that case, you can create a custom style based on the existing AMA style. Go to: Edit > Output Styles > Open Style Manager > Find your style and click Edit > Using menu on the left, select the section you would like to edit and choose Templates. Then make any changes to the corresponding template fields. When done, save the file under a new name.
Because CERs and other medical regulatory documents are often hundreds of pages long, it is sometimes preferable to create sub-reference bibliographies for each main document section. To do this for each of your document chapters, you can edit the Bibliography Style you are using. Go to: Edit > Output Styles > Style Manager > Find your style and click Edit > Using the menu on the left, click on Sections. Here you can choose to have the bibliography at the end of the document or at the end of each section, or both. Save your changes. Then ensure that, within your Word document, each unique section is separated by a “section break”. Note: if your document template or standard formatting contains section breaks for other purposes (such as tables), you will see a bibliography after each section break, so, this style may not work efficiently in those cases.
When working in an already complex CER document, EndNote’s core functionality makes managing large batches of references and citations fluid and virtually error-free. Already, using just these basic features will save medical writers substantial time and mental energy.
When you are ready to dig into EndNote’s more advanced features, you will find it helps with much more than just document citation management.
Managing your figures, tables, references, and so much more on a lengthy, complex regulatory document can seem impossible. Even seasoned medical writers struggle when trying to make changes or add content without breaking a document. Chances are, the tools you need already exist. Read on to find out how some of the simplest Microsoft Word tools can allow for smooth changes to maintain an organized, uniform document.
Copy and Paste
CER documents need to be clear and uniform, which can make it difficult to pull content from one document to another without disturbing the style of the document. There are multiple paste options that allow you to either match the formatting of your document or paste text without any formatting. All options can be found under the Home tab on the toolbar in the copy and paste section. Two important functions for CER writing are Match Formatting and Keep Text Only.
Match Formatting: Text is formatted to document content.
Keep Text Only: All text formatting, including hyperlinks, are removed. This is useful when you want to remove all hyperlinks simultaneously.
Templates
A well-designed template functions as a formatting blueprint for your document. While some companies may provide their own template, it is important to be able to create and establish a template to ensure uniformity through your work. With a good template, writers just need to insert the information.
Preset styles found in the Styles section of the Home tab help writers focus on content and quality. Found under the Styles Pane, styles can be quickly modified to match the formatting guidelines for your document. Once a style has been added, it will appear on the styles pane where you can select them when needed.
Styles Pane
Additional features such as an automatic table of contents and cross-referencing can also be added to a template.
Useful Tip: You can save your formatting as a template by selecting File – Save As Template.
Useful Tip: Formatting is a meticulous aspect of any complex document. To reveal formatting, click on the paragraph mark located on the Home tab and all formatting marks appear. This tool makes it easier to edit the formatting without losing content.
Table of Contents
In large, information-dense documents, it is counterproductive to scroll endlessly to find sections of interest. A well-done table of contents in MS Word makes finding specific content simple. This creates a link between corresponding titles in a table of contents instead of requiring a user to manually insert a cross-reference for each section. A table of contents is easy to insert, but users make some common mistakes that can affect the efficiency of the automated tool.
Formatting styles are critical to creating a table of contents. Word provides preset automated table of contents options that require you to pick a style for each of your title types. You will notice that “Heading 1,” “Heading 2,” and “Heading 3” are located where the chapter titles and sections will be. Applying the corresponding styles, located in the Styles section, will determine the format of your table and which titles are linked.
Table of Contents
Decide what text you want to be included on the Table of Contents and use either Heading 1, 2, or 3 – Go to References – Table of Contentson the left side of the ribbon – Choose from the Automated Table of Contents options that are previewed
As a good practice, the table of contents must always be updated at the end of the writing process. Updating the entire table will revise heading changes along with page numbers.
You can modify your table of contents by selecting the Custom Table of Contents option. Changes can be made to the table format and what you want to be included on the table in the dialogue box.
Cross-referencing connects items within a document, similar to a hyperlink, for smooth navigation, which is useful in lengthy documents. You want to use this to ensure the reader can access information quickly without needing to manually search for it. The cross-reference tool can be used to link headings, footnotes, captions, figures, and tables to where they are in the text. Did you know that cross-references can be updated just like the table of contents? Updating is crucial because content is constantly moving around the document from page to page.
To insert a cross-reference, go under the Insert or Reference tabs, and choose the type and caption.
Insert tab: Insert – Link – Cross-reference
References tab: References –Cross-reference
An added benefit to using cross-reference is that it will actively change based on the output. If a document is printed, the cross-reference will change to tell the reader where the content is in printed form.
When pulling tables from PDF documents onto a Word file, a simple copy and paste doesn’t always do the job, requiring the writer to recreate the table. These tables can include important information on instructions, uses of the product, and complex clinical data.
Once you insert a table, use the table Design and Layout tabs to quickly customize a table. The preset styles are a good place to start and can be altered by selecting the menu under Modify Table Style. A modified style can then be saved so it is available anytime you need it.
Table Properties
A split table can cause confusion, especially when a large amount of information is being presented. To resolve this, we can go under the Table Properties and select Repeat as header row at the top of each page to make sure the headings of the table show up if a large table splits across pages. Additionally, by unchecking the box for Allow row to break across pages, you can also prevent a row from splitting up.
Headers and Footers
It is common for a company to want their logo and additional information included on the top and/or bottom of a document’s pages. Headers and footers are integral to any document for this reason and include features that can make editing them easy.
Once you have opened the header and footer edit option, either by double clicking one or choosing the option to insert one, the Design tab appears. Here you can choose style, formatting, and content you want to be included in your header and footer.
Adding a Logo: The easiest way to add a company’s logo is to select Picture From File. Once you have chosen an image, you can edit it the same way you would in the body of the document. A large image will automatically adjust the header or footer length.
Date & Time: This option allows you to automatically add the date and time with multiple format choices.
Text Location: Users have the option to place text in the center, the left, and/or the right of a header and footer. This is useful if you have multiple sets of information you need to include in one space.
Headers and footers, like page numbers, can be excluded from the first page.
Page Numbers
Including page numbers is critical in any long document, but there are other benefits to using them in technical writing. Page numbers can be used in cross-referencing when the text is referring to information found on a specific page. Page numbers can also be modified to fit the needs, and style, of your document.
By default, a number will always appear. However, you can unmark the box that reads Show number on first page when you are first inserting page numbers. This will turn the second page into “page one” of the document, a useful tool for when you have a cover page.
Tracking Changes
Many people will likely be reviewing your document, which is why the ability to track each user’s activity on a long document is so important. Word provides tools for tracking changes, edits, and comments. These tools are useful when one or more people are reviewing/editing a document. All of this can be done under the Review tab.
Track Changes
Changes can be tracked by clicking the Tracking menu – turn on Track Changes. Comments can be inserted by selecting New Comment.
All changes and comments will appear on the side of the page and indicate what has been changed in the document and comments that have been made.
Useful Tip: The Navigation Pane makes it easy to view changes and comments. In addition, it includes a tab where you can view your table of contents and click through it without needing to scroll back the top of the document. The Navigation Pane can be made visible under the View tab.
Page Orientations
Section Break
Clinical Evaluation Reports (CERs) often include figures and tables that do not always fit on a regular, portrait-oriented page. Page orientations can be found in the Layout tab. If you have a table or figure that is too wide for one page, it is possible to change the orientation of that single page to Landscape.
Go to the Layout tab – Click on the Breaks menu – Select Next Page under Section Breaks (this is not the same as a page break) – Select Landscape under Orientation
Once you are finished, you can insert another section break and return the orientation of the following page to portrait.
Adjusting the orientation to fit specific content saves time and ensures you do not need to alter or potentially lose important information.
Leveraging the MDR experience for IVDR: Tips for Successful Performance Evaluation and PMS/PMPF Processes [Free Webinar]
Have the IVDR Performance Evaluation and Post Market Surveillance requirements got you tied up in knots? Where do you start? What does the end product look like? We are joined by the VP of Regulatory, Quality, and Clinical from Nextern, a collaborative medical device company bringing unmatched core competence in medical device product design and development. Criterion Edge’s President Laurie Mitchell will lead a discussion of their experiences supporting clients through MDR and IVDR requirements.
Effective Corporate Scientific Communication: Strategies to Support your Corporate Narrative and Maximize the Real-World Impact of your Data [Free Webinar]
In this practical presentation, President Laurie Mitchell will: 1) discuss how an effective scientific communication plan is an important marketing tool for an organization, and 2) present five strategies to ensure your corporate objectives are supported and maximize the real-world impact of your data. Join us to learn how this applies to your organization and how to implement these strategies into your current processes.
Hidden Traps That Derail PER Preparedness: Lessons Learned from the MDR-Compliant CER Writing Experience [Free Webinar]
In this practical presentation, Criterion Edge uncovers what we have learned from our experience in writing MDR-compliant CERs, and how urgently applicable some of these key learnings are in preparing a robust Performance Evaluation Report (PER).
Hidden Traps That Can Derail Your CER: Answer These Critical Questions Before You Start Writing [Free Webinar]
As we all know, the MDR has significantly increased both the quality and quantity of inputs needed to complete a CER, needing more up-front planning than the reports have in the past. Based on our experiences with clients both large and small, our President, Laurie Mitchell, shares some of the biggest issues we have discovered when starting an MDR CER project. Laurie also reveals some of the most successful strategies in addressing these issues, up-front and early.
A Practical Guide: Conducting Systematic Literature Reviews in Support of IVDR Readiness [Free Webinar]
In this practical presentation, Criterion Edge breaks down the steps of the SLR process and takes a wholistic approach to conducting an IVDR-compliant SLR. Using case studies, the presentation illustrates the effective use of SLR-derived data to develop the Scientific Validity Report (SVR) and the Clinical Performance Report (CPR).
How to Assess Your CER for MDR Readiness, Part 2 [Free Webinar]
In this second installment of our 2-part webinar series, Criterion Edge shares practical presentation to help you assess your CER through the critical lens of a writer and identify possible gaps for mitigation before prior to submission to regulatory authorities.
Systematic Literature Review: How to Empower Data-Driven Decision Making [Free Webinar]
In this webinar, we share the process of systematic literature review, and discuss the tools and best practices for creating a methodologically-sound systematic literature review.
Experience and Scalability
Watch this video to learn how Criterion Edge is different from the rest.
5 Key Questions to Help Manage Your Budget
This infographic goes through 5 key questions to go through in order to control your budget.
Examining the Implications of the MDR on Data Management
Leading industry experts come together to discuss how the MDR affects data management within their respective units.
MedDev 2.7/1 Guideline: Equivalence and Risk/Benefit Profile
This report clarifies the modifications to the equivalence guidelines in MEDDEV 2.7/1 and Quality Management Systems (QMS) ISO 13485 standard to help develop strategies.
MedDev 2.7/1 Guideline: Qualifications of Evaluators and Scientific Validity
This gap analysis addresses key revisions to evaluator qualifications and scientific validity in the Clinical Evaluation (CE) MEDDEV guideline rev.4.
MedDev 2.7/1 Guideline: More Clinical Evaluations?
The changes to 2.7/1 rev. 4 suggest the need to submit more frequent CERs to regulatory authorities, however, strategies will be discussed for managing the increased requirements.
Data Mining: New Initiatives on Health Care Data that Manufacturers Should be Watching
Every time a healthcare provider makes a notation in the medical chart, a significant and valuable piece of data has been created. This paper discusses the implications of this.
10 Strategies to Build Efficiencies in your Regulatory Writing Process
This piece discusses 10 key strategies to building an efficient regulatory writing process.
State of the Art: Best Practices and Literature Review Using DistillerSR
In this paper, we discuss a prominent clarification on the MEDDEV 2.7.1 rev 4, establishing the “state of the art” section.
Q&A Follow-Up: How to Assess Your CER for MDR Readiness, Part 1 [Free Webinar]
The overwhelming turnout at the ‘How to Assess Your CER for MDR Readiness, Part 1’ prompted us to host a live Q+A session where President Laurie Mitchell exclusively answers all your questions.
Systematic Literature Review To Help Meet MDR Requirements [Free Webinar]
President Laurie Mitchell returns to continue sharing more about the importance of the systematic literature review.
Systematic Literature Review: How to Empower Data-Driven Decision Making [Free Webinar]
In this webinar, we share the process of systematic literature review, and discuss the tools and best practices for creating a methodologically-sound systematic literature review.
State of the Art Literature Review for EU MDR Compliance: How To Get It Right [Free Webinar]
Establishing and defining state of the art for a medical device is no longer an isolated task – it supports the entire Clinical Evaluation Report (CER). Multiple sections of the MEDDEV 2.7/1 rev 4 compliant CER need to be supported by state of the art data, including safety and performance, risk management, and equivalence.
How to Assess Your CER for MDR Readiness, Part 1 [Free Webinar]
In this first installment of a 2-part webinar series, Criterion Edge will present strategies for assessing key components of your CER (or CER template) for possible misalignment with significant and applicable MDR requirements.
Intro to Adverse Event Reviews [Free Webinar]
In this webinar, President Laurie Mitchell discusses why safety reviews are essential in the entire life cycle of product development.
Advantages to Technologies Supporting Endpoint Adjudication [Free Webinar]
Kyoko Hattori from Criterion Edge returns to discuss best practices for managing the adjudication process in-house, and Brian Kelly from AG Mednet will share how the “JUDI” platform can simplify the management of adjudication.
Endpoint Adjudication by the Clinical Endpoints Committee (CEC) [Free Webinar]
In this webinar, learn about CECs, familiarization with regulatory guidance, decision factors leading to use of a CEC, and much more.
Privacy Overview
This website uses cookies so that we can provide you with the best user experience possible. Cookie information is stored in your browser and performs functions such as recognising you when you return to our website and helping our team to understand which sections of the website you find most interesting and useful.
Strictly Necessary Cookie should be enabled at all times so that we can save your preferences for cookie settings.
If you disable this cookie, we will not be able to save your preferences. This means that every time you visit this website you will need to enable or disable cookies again.
3rd Party Cookies
This website uses Google Tag Manager and Pardot's tracking features to collect information such as the number of visitors to the site, and the most popular pages. Keeping this cookie enabled helps us to improve our website.
Please enable Strictly Necessary Cookies first so that we can save your preferences!